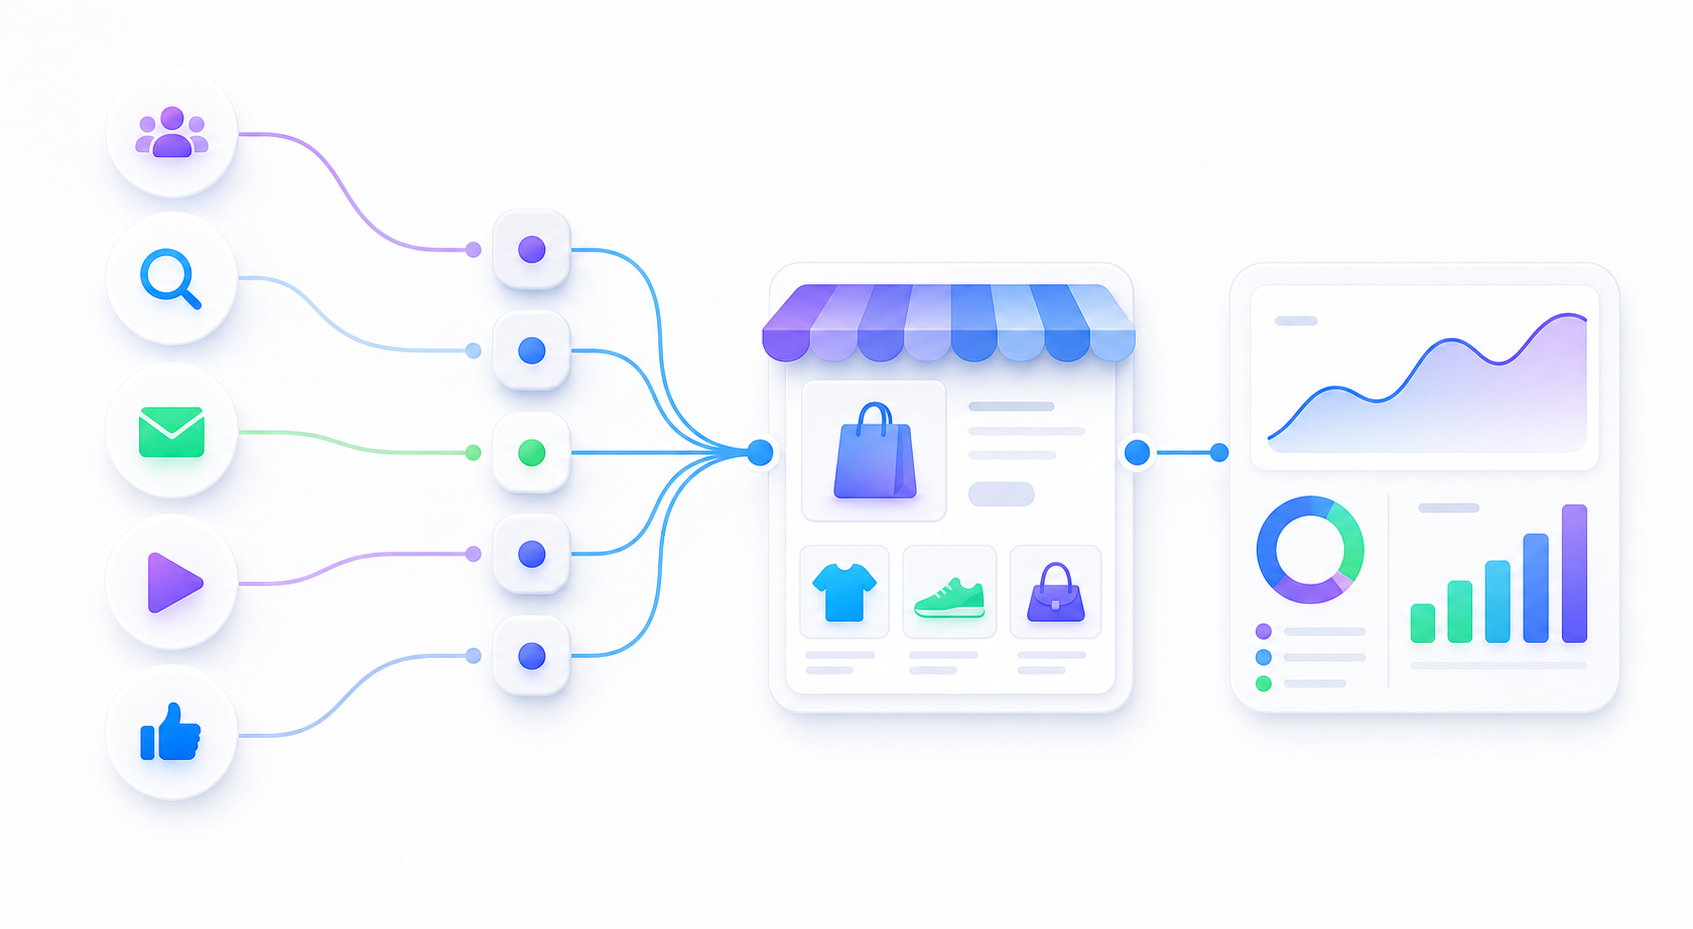
Landing Page URL Builder

Free setup checklist

GA4 and Google Search Console Setup Checklist

For small ecommerce sellers who need the basics: see campaign traffic in GA4, help Google discover the site, and submit a sitemap without turning the first launch into a technical project.

Ad traffic, ecommerce store, and analytics verification workflow

GA4 answers

Did the campaign click reach the store, and do the traffic source, campaign, and ecommerce events look believable?

Search Console answers

Can Google verify the site, read the sitemap, and report indexing or search performance issues?

Cost

GA4 and Google Search Console are free. Extra cost only appears if your store needs a paid app, developer work, or deeper tracking setup.

What you need before starting

  • A Google account you can keep long term.
  • Access to the ecommerce store admin, theme, tag area, or official analytics integration.
  • Your store domain, for example https://example.com.
  • Your sitemap URL. Many sites use /sitemap.xml, for example https://example.com/sitemap.xml.
  • One test landing page URL that you can click yourself.

Part 1: GA4 setup

  1. Create or open a Google Analytics 4 property for the store.
  2. Create a web data stream for the store domain and copy the Measurement ID. It normally starts with G-.
  3. Install the Google tag directly, through Google Tag Manager, or through the ecommerce platform's official GA4 integration.
  4. Turn on the simplest useful checks first: page views, campaign UTMs, and ecommerce events the platform can support.
  5. Click a real campaign landing-page URL and check GA4 Realtime before judging any report.

Part 2: Search Console setup

  1. Add the store as a property in Google Search Console. Domain property is broader; URL-prefix property is often easier for beginners.
  2. Verify ownership using the method you can actually complete: DNS record, HTML file, HTML tag, Google Analytics, or Google Tag Manager.
  3. Submit the sitemap URL after verification.
  4. Wait for Google to process it. Submitting a sitemap helps discovery, but it does not guarantee every page will rank or index immediately.
  5. Check indexing, page errors, and search performance after data starts appearing.

Beginner launch order

  1. Generate one clean ad landing-page URL with readable UTMs.
  2. Install or confirm GA4.
  3. Click the generated URL and check GA4 Realtime.
  4. Verify the domain in Search Console.
  5. Submit the sitemap.
  6. Only then start adding more ad channels, macros, redirects, or short links.

Common beginner mistakes

  • Adding several GA4 tags at once and creating duplicate events.
  • Submitting a sitemap before the domain is verified.
  • Using advanced ad macros before one static UTM link has been tested.
  • Assuming Search Console traffic and GA4 traffic will match exactly. They answer different questions.
  • Putting customer emails, phone numbers, names, or order details into URL parameters.

Set up the measurement loop before scaling ads

The clean order is simple: build the landing-page URL, check GA4 Realtime, verify Search Console, submit the sitemap, then launch more channels.

Build a free campaign URL